ECHO has never had a holding tank. I am building one.
Some considerations. I hate Wye valves. I believe the only way to plumb a holding tank is to pump everything into it, and have a suck out port at the top and a drain at the bottom. I also believe the holding tank should be above the waterline, and as large as possible.
I decided to use the space above the cabinet. It will be a tight fit, but by custom making my own holding tank, I can maximize the volume of my holding tank.
My rough estimate is it will be a bit under 30 gallons. While not big, that is a decent size, and I'll met the sanitation laws. I plan to build a much larger holding tank aft.
I decided to make a female mold. If I had to do it over again, I'd make a male mold and not try to lay the whole thing up at once.
My female mold worked ok, but it was a challenge. I've yet to crack the mold, and I'm confident I'll need to add to it on one or both side to make it strong enough to suit my specification.
Here are a few pictures of the mold.
Form plywood cut and stitched (wired) together
Some reinforcing around the middle so I can put pressure on the inside of the form. I plan to use sand and weights to accomplish that.
Maximum strength will come from radius corners--this will allow better drainage. Here I sprayed Great Stuff foam.
Next I smoothed the edges of the foam.
I added some tape to smooth these corners some more. Later I added some plastic sheeting to cover the entire inside.
I cut and fit two layers of fiberglass mat topped with one layer of cloth.
After wetting it down with epoxy, I folded a layer of plastic on top.
Next I filled the box with sand and packed it down.
I felt the wet fiberglass conform to the shape of the mold.
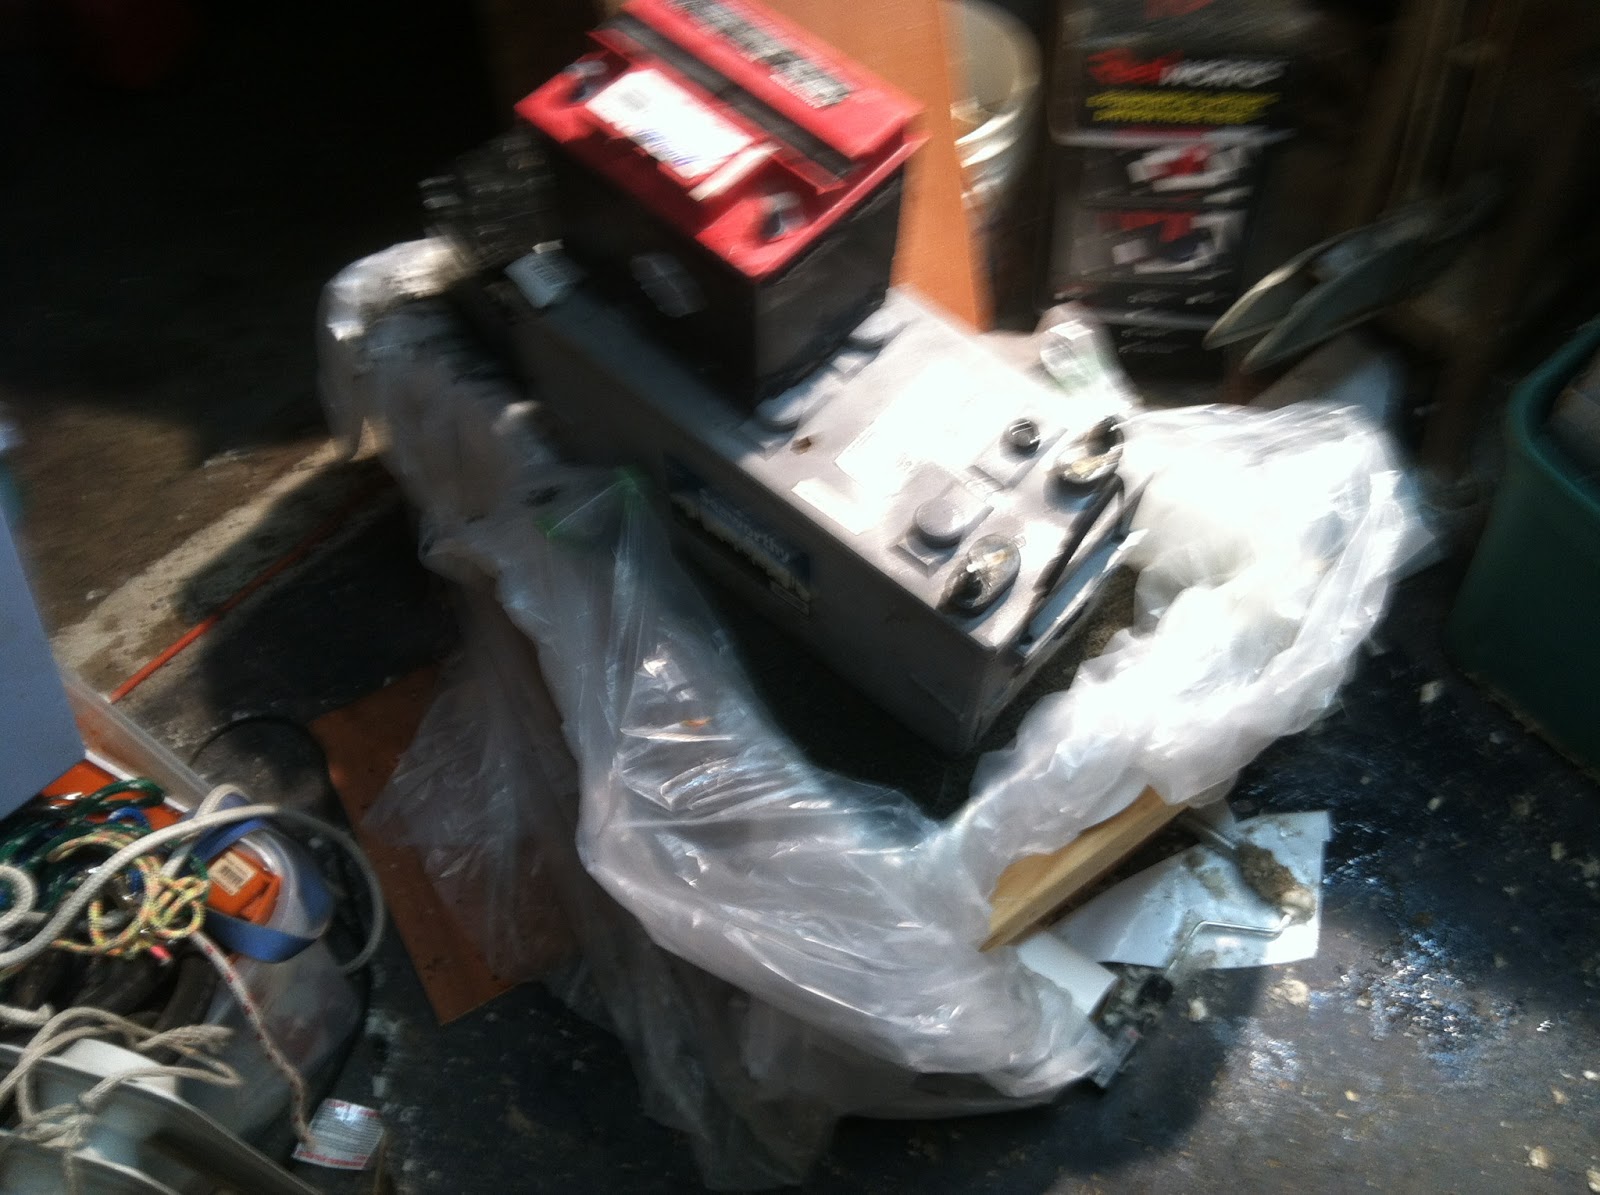
Finally, I put batteries on top for some added weight.
If I had to do it over again, I'd use a male mold and do the layup in several session to ensure the structure was perfect.
Since I used a extra slow hardener, I intend to let it set up an extra day.
Stay tuned!