Monday, April 29, 2013

Fiberglassing Bulkheads

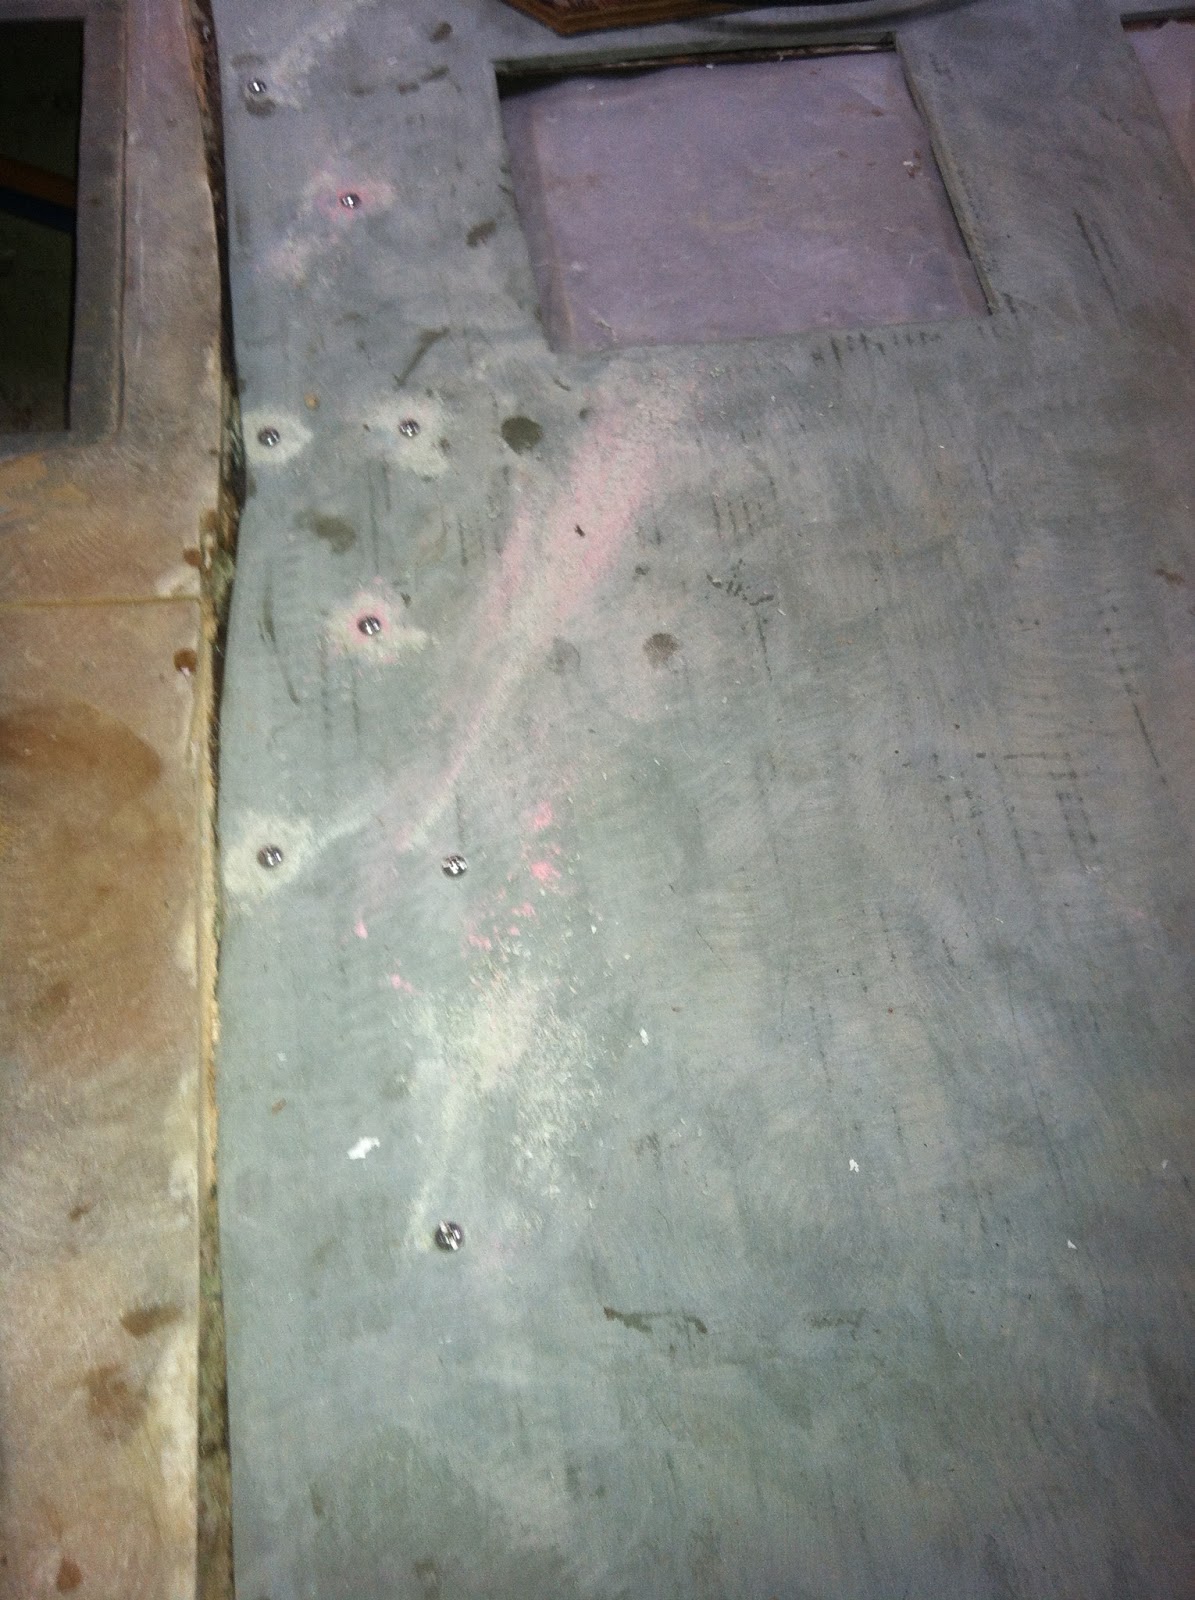
Floor repair.  Port side tabbed in. Ready to recore.


I put a bonding strip underneath here.  It is made from 1/2" fiberglass panel.  I screwed it to the 1/4" base panel to ensure a tight bond.  All surfaces were scuffed up for better adhesion.

Two sections of the bulkhead in the forward salon were poorly bonded.  During sonstruction, these areas were not cleaned and prepped before they were tabbed in.  As a result the bottom areas where dirt collected, were poorly bonded.  I ground these out--as shown here.  Later photo's show the completed repair.

Same issue on starboard.

Port side repair.  I used two layers of matt, two layers of roving, followed by one more layer of matt. Battery shown in this photo was one of three, in addition to other objects used as weights to bond the 14" floor panel to a remnant of the old panel on the starboard side.

Here is the port side layup on the bulkhead.  You can another battery and a concrete block used as weights for the starboard side of the new floor.

Closeup of the port side layup.

Closeup of the starboard side layup.  The string is being used to measure for the furniture being built for that side.

The next photo's are all of the bottom half of the aft bulkhead being installed.  This is for a cofferdam to separate the rudder compartment from the middle of the boat.    The below photo is the aft and port side of the bulkhead at the steering frame.

Aft view of the lower section of the bulkhead.  Note there is a gap at the bottom which will need to be filled in one I install a piece of 1.5" stainless tubing.  This will allow the aft bilge to drain though a hose and ball valve into the main bilge.  That will eliminate the need for a  bilge pump in this compartment.

Aft starboard view.


Another view from the aft.
 

The photo below shows one of the steering sheaves. It needs to be relocated on the right side of the frame. Likewise the port side sheave needs to move outboard also. The original steering was mounted forward in the cockpit and was relocated to a binnacle later. Whoever did this job, did not figure out the geometry properly as this limits the range of the rudder too much. I'll have move these sheaves, lengthen the rudder cables and build a frame to protect the sheaves for other items stored in this area.

Next task.  Fabricating a mount for the autopilot hydraulic ram.  I have prepped that area for fiberglassing and I have the materials ready to go.

Sunday, April 28, 2013

Lower Half of the Rear Collision Bulkhead

This is actually the lower half of a bulkhead which is in fact a cofferdam.  I may decide to later completely block this aft part of the boat from the middle of the boat.

My  main concern is completing this, so I can install a 110 gallon fuel tank in this area.  This will give me a nice range under power of over 500 miles.

I began by giving the recent steering box tabbing a light grinding to remove any surface wax for a strong bond.  I applied two layers of mat with some overlap in the middle, followed by two layers of sticked matt.  On second thought I should have just butted these together.  In any event, it is pretty strong.  I left out the bottom so that any water that comes aboard will flow into the bilge.

I plan to apply a filet of thickened epoxy to smooth the radius between the bulkhead and the hull and glass in two layers of roving, and one final layer of random matt.

Once the top panel is installed I'll bond the seem and the remaining portion of this section.

I also applied three pieces of random matt on the other side.  My project for tomorrow is to finish the other side.

I also discovered the reason my steering is limited.  The control sheaves are not far enough apart.  I'll have to relocate those before closing in the top sections.

Finally, on the right side of this photo is located the area where I'll be mounting the hydraulic ram for the autopilot.  I have an Edson steering arm on order and it will take some careful measurement to locate the mounting position and building a support out of wood that can be glassed into place.


I also bonded the lower section of my new floor into the boat.  I used stainless bolts, a 1/2" thick strip of fiberglass to bond the seam between the adjacent panel, tabbing on the port side, and weight and pressure to bond the starboard side.  I'll need to return the 1" balsa core I bought and exchange it for 1/2" because the lower panel is much thicker (1/4") than the original lower skin.

Tomorrow, I can finish tabbing in the two forward bulkhead whose bonds failed for the bottom 18" or so.  I have the material cut and ready to laminate. Plus I have a few other areas that need minor fiberglass repair.  I plan to have all of this done within a week.  After that, furniture install can begin.  Or I can address one other area in the floor that needs some core replaced and prettied up.

I will also need to make two new drop in covers for my water tanks.  Eventually, I'd like to skin the entire cabin sole with a thin layer of teak and holly plywood.

Tabbing Repairs

It seems that when these boats were built, they skipped on the prep work when installing the tabbing (Fiberglass tape) used to secure the bulkhead and steering fixture.  I know that another boat, every bit of tabbing had to be replaced.  I just removed a few sections that had broken free and found they did not even clean the area prior to tabbing it in.  My problem areas were in the lower sections where dirt and debris were most likely to collect.

In any event I'll post pictures of those soon.

I also spent a day grinding/prepping the area where I'm installing a collision cofferdam, auto pilot mount, and did not like the tabbing  for the steering mount.  I decided to reinforce that some as well.  Here is an "After"  picture of the area I repaired.

You can see I prepped a much bigger area than I actually needed to.   I wanted to be sure I had a good bond for this repair and the next phase, which is installing the lower half of the bulkhead.


Saturday, April 20, 2013

Cabin Sole Repair

I cut a piece of 1/4" thick fiberglass paneling for my floor repair.  Here it is.  While it seems simple, it was a complicated cut and went rather well as I used a cardboard pattern.

Most of the day was spent pulling off the shrink wrap and finishing up emptying the boat, organizing tools and material in the back upper bunks, and locating some pieces of wood which will be used for floor support and as part of a mount for an autopilot.


The three holes in the middle are for access to the forward water tank.  The top will be one long piece of wood, which will rest on the three holes.  This panel will provide 1" of space all the way around such only one board will be needed to inspect the water tanks.